1. Creating folders to group VM clients for application
From Home > vCenter > Select “VMs and Templates”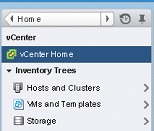
Expand Data Center and right click on datacenter > from context menu choose “All vCenter Actions” > from context menu, choose “New VM and Template Folder…”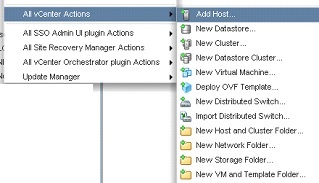
Add the VMs to the folder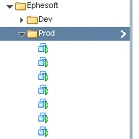
2. Configuring Replication for Guest VMs
Once all VMs have been added to folder, select one VM > right -click it > from context menu select “All vSphere Replication Actions” > Configure Replication…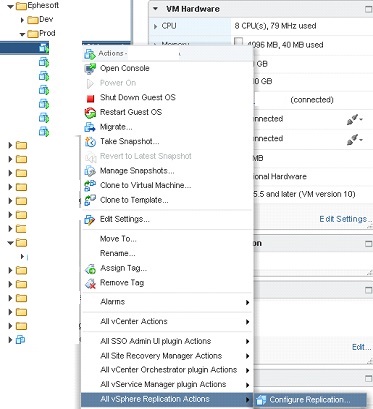
A new window titled “Configure Replication for ….” will open > select “Replicate to VCenter Server” as Replication type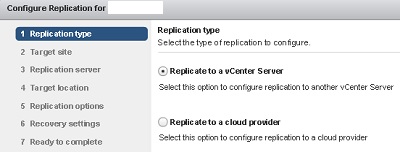
Target site select “PHOENIX” (this shows as connected because the prerequisites have been done to ensure that these sites SRM services are functional)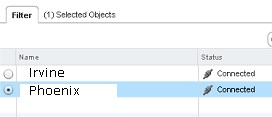
At the Replication server options, choose “Select vSphere Replication server” > select an available host from the list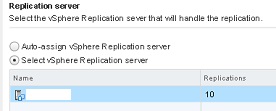
At the Target location options, select the equivalent data store (use “Filter Datastores” to locate the correct datastore) > Select Advanced configuration if each disk has a specific datastore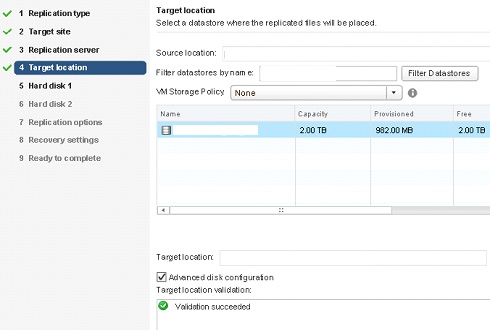
At the Replication options, click next > at the Recovery settings, select your Recovery Point Objective > set to 15 minutes (Setting can be changed later if required)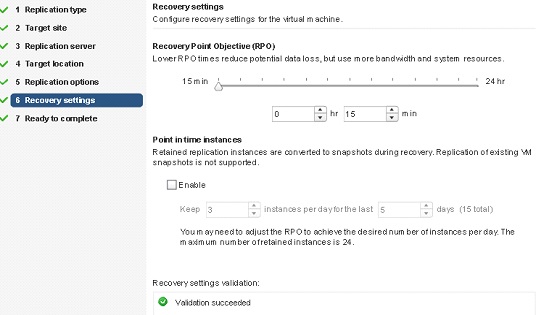
Review the selections and click Finish > Repeat these steps for all VM Clients targeted for replication > Once all targeted VMs are set for replication, navigate back to “Home” screen > vSphere Replication > Select “Home” tab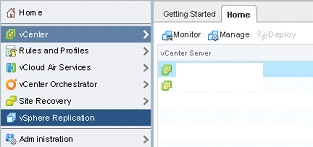
Click on “Monitor” and verify status of newly set up VMs for replication is “Initial Full Sync”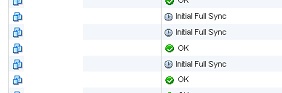
3. Setting Up Protection Groups
Click “Home” > Site Recovery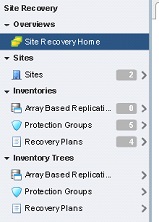
Select “Protection Groups” > click on the Shield icon with the plus sign to create a new Protection Group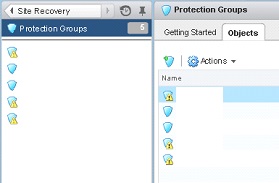
When the Create Protection Group window opens > Name this new Protection Group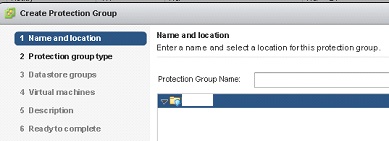
Protection Group type select Protected Site “IRVINE” and Replication type “vSphere Replication (VR)”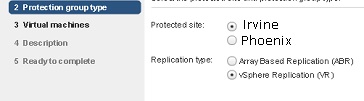
At the Virtual machines option, select all of your VMs in the group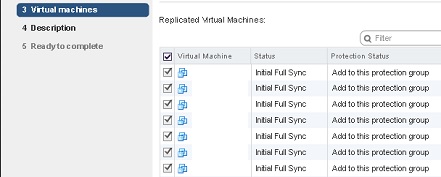
Optional: fill out a description for the Protected Group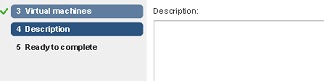
Review the selections > click Finish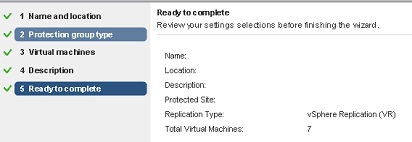
Double click on Protected Group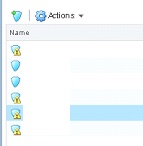
Select “Related Objects” tab > Virtual Machines
Select a VM > right click > Configure Protection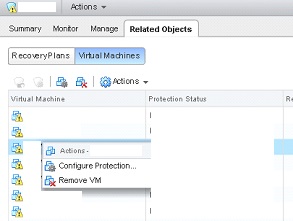
When the VM Protection Properties window opens, expand items marked as “Not Configured”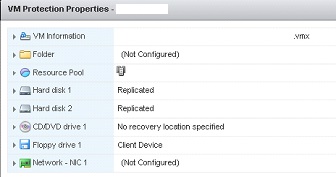
Select “Folder” to specify the folder where VM will be at Recovery Site > put a check mark next to “Save as Inventory Mapping”
Verify Resource Pool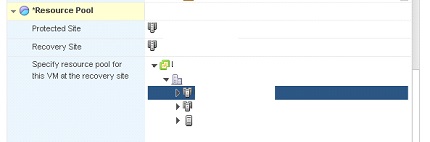
Verify Network > save configuration when ready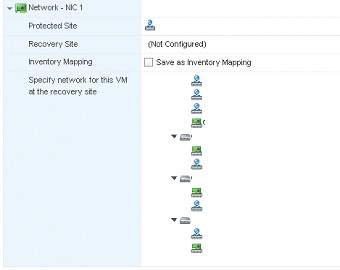
4. Creating a Recovery Plan
Navigate back to Site Recovery Home by clicking the back bottom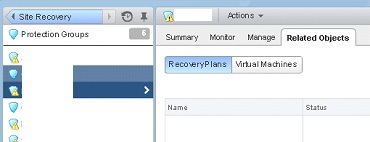
Click on the new page with plus sign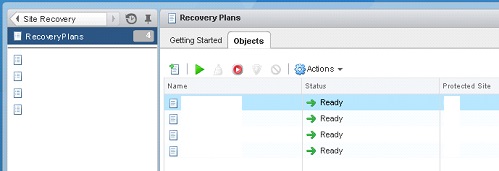
When a new window named “Create Recovery Plan” opens, Name this new recovery plan
Choose Recovery site PHOENIX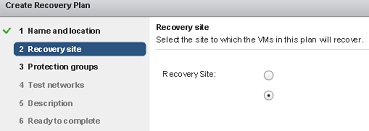
Choose Protection Group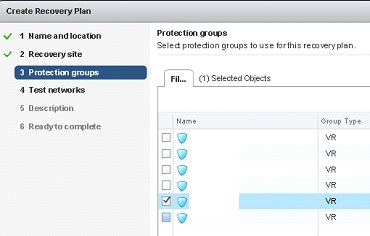
Test Network > change option from Isolated network (auto create) to 000_isolated for all networks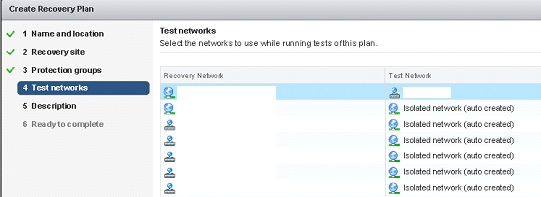
Input a description for this recovery plan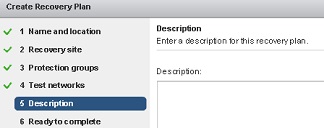
Review the options > click finish when ready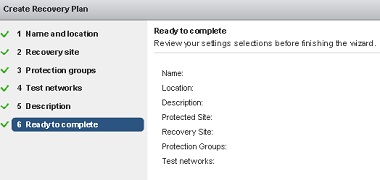
5. Configuring Recovery Plans
Double click on the new recovery Plan
Select Related Objects tab
Click on Virtual Machines and right click one of the VMs > Configure Recovery…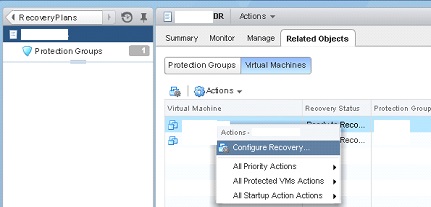
VM Recovery Properties Window Opens
Select IP Customization > Expand “Select an IP Customization mode:” and choose “Manual IP Customization”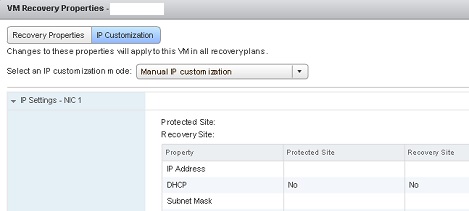
Select “Configure Protection…” at the bottom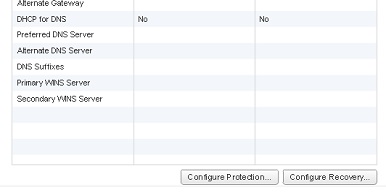
Enter the IP address information for Protected Site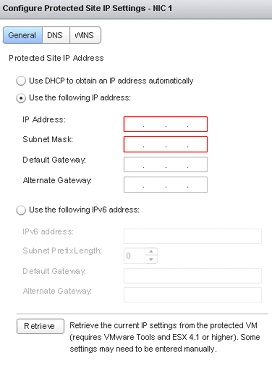
Repeat the same steps for Recovery Site > Navigate back to Recovery Properties and change Priority Group > typical guidelines is to select Priority 1 if VMs are SQL servers and Priority 3 if VMs are application servers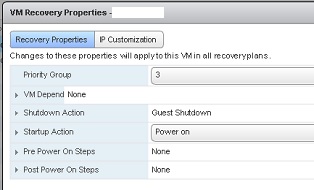
Click Ok > Repeat these steps for all VMs inside the Protection group to finish the job