Step 1: convert .PEM file into a .PPK format
Run puttygen.exe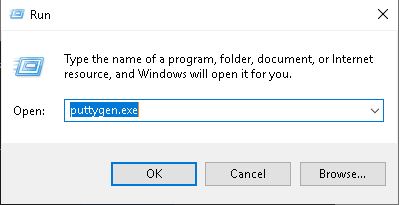
Click on Load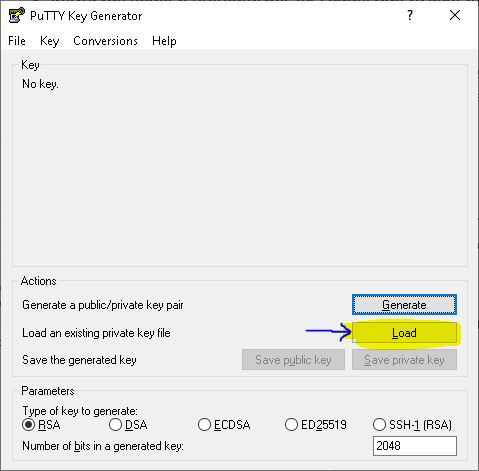
Navigate to a .PEM file as downloaded from AWS > click OK to select it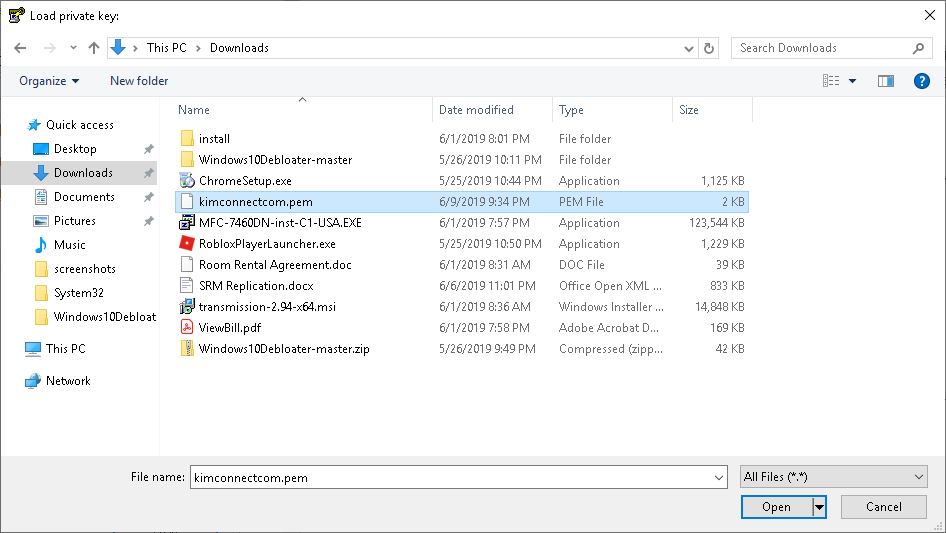
Click Save Private Key > place the resulting .PPK file onto the Desktop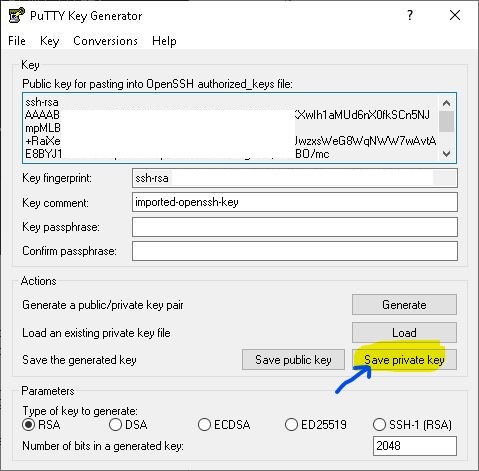
Step 2: Configure putty to use the generated .PPK file
Run: putty.exe > navigate to Connection > SSH > Auth > click on Browse to import the .PPK file as generated by the previous step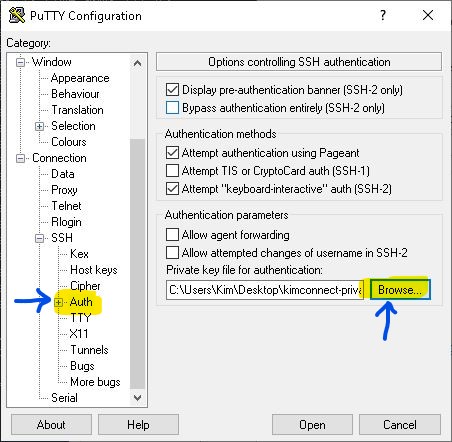
Put a check mark next to ‘Allow agent forwarding’ (important if jump boxes are used in the environment)
Select Data > set Auto-login username
Navigate to Connection > set the keepalive packets interval to 60 [seconds]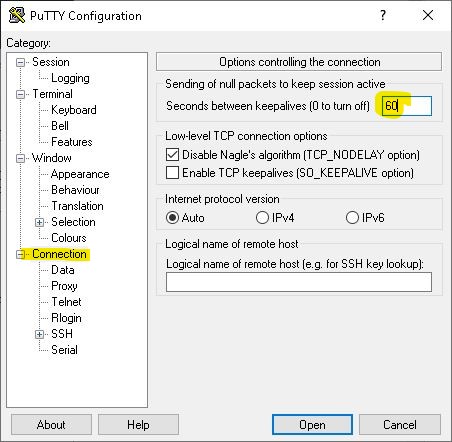
Navigate back to Session > input the connection string URL (e.g. [email protected]) > set port number > give this setup a name > Save > Open when ready to connect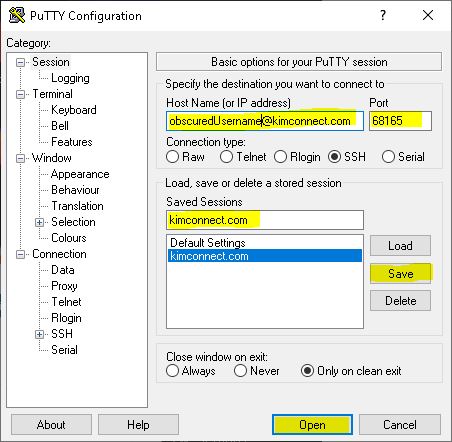
Categories: