The Point and Click Method
Prepare a CSV file in this format
EmailAddress
[email protected]
[email protected]
[email protected]
Access Office 365 Exchange Admin Center > Recipients > Migration > click on the + sign > Migrate to Exchange Online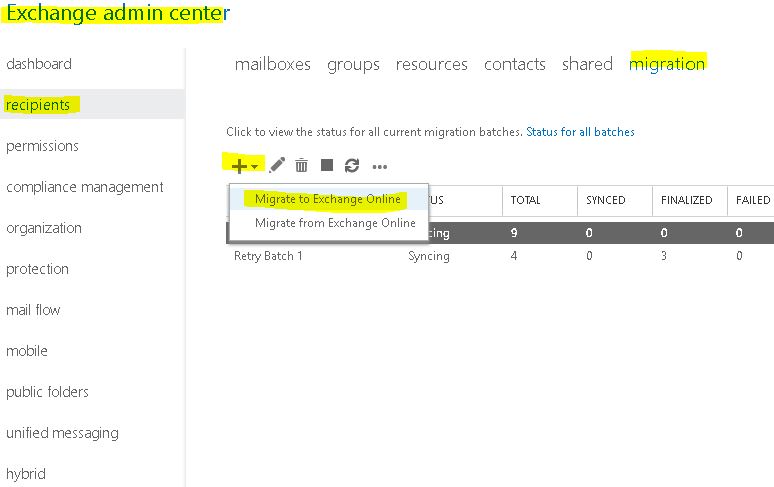
Select “Remote move migration” > Next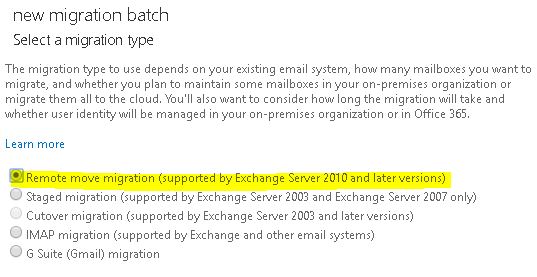
Toggle the radio button next to “Specify the users with a CSV file” > click on Choose File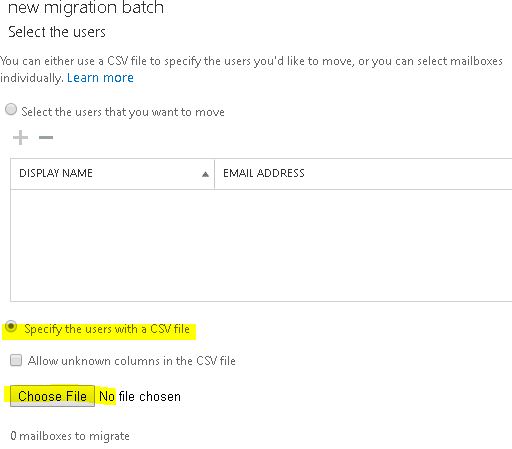
Navigate to the prepared CSV > select it > Open > Next > Verify the FQDN of migration end point (of the on premise Exchange Edge role or Client Access role with MRS proxy feature enabled) > Next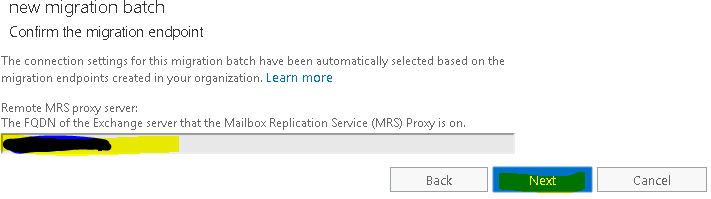
Name the batch > select the Target delivery domain > set bad item limit as 99999 > Next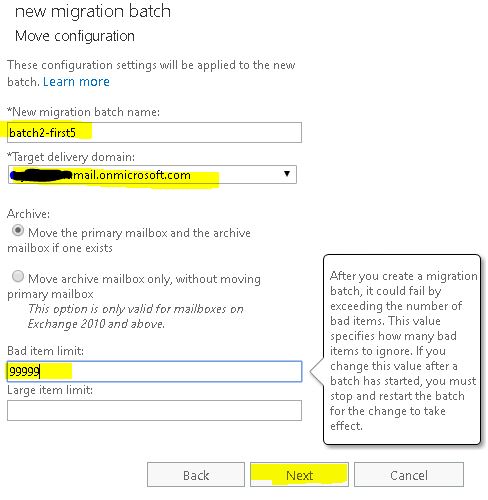
Select the time schedule to start the batch (e.g. Automatically start) > select Automatically complete the migration > New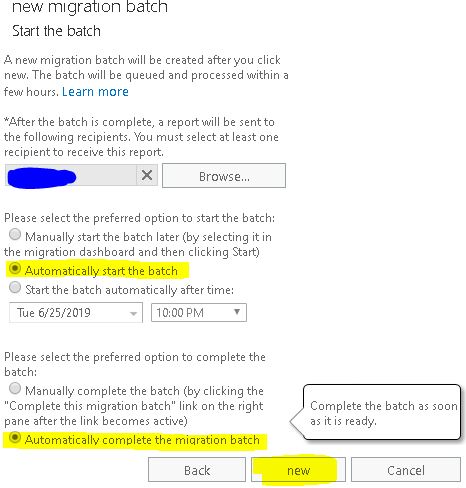
Click OK on this warning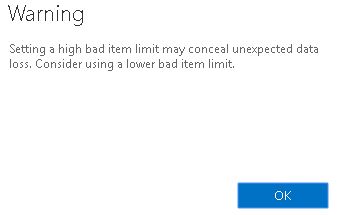
Ignore this notification
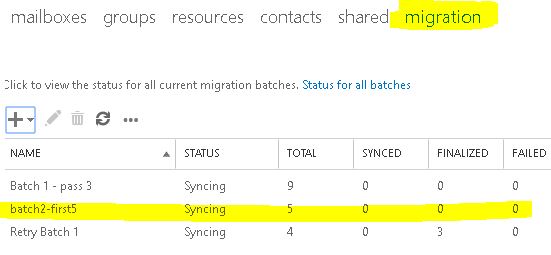
Go sip some coffee and check back to this Migration status view periodically