The following is an illustration of the usage of this nice and free utility to make bulk changes to users of your Dynamics CRM Application:
Step 1: Installing the CRM Toolbox
- Download XrmToolBox from https://www.xrmtoolbox.com/
- Place it on the Desktop and extract the Zip file
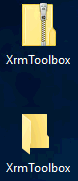
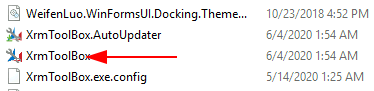
- Open the folder and execute the ‘XrmToolBox.exe’ utility with that purty icon
Step 2: Connect to Dynamics 365
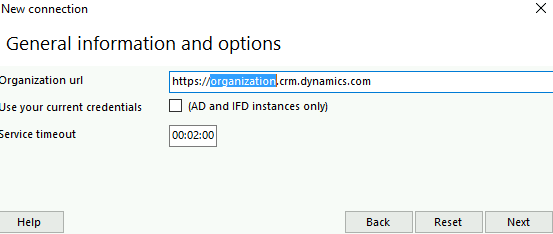
- Click on Configurations > Manage connections > New connection > Connection Wizard > Follow the instructions within to complete the connect setup
Step 3: Add a Plugin
- Run the app > click on Visit XrmToolBox portal > Search for ‘User Settings Utility’ > Install it

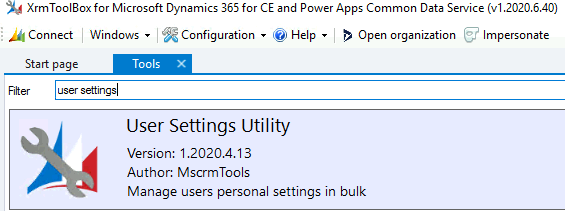
- Click on Tools > search for ‘User Settings’ > click on it to activate plugin
Step 4: Make Changes to User Settings
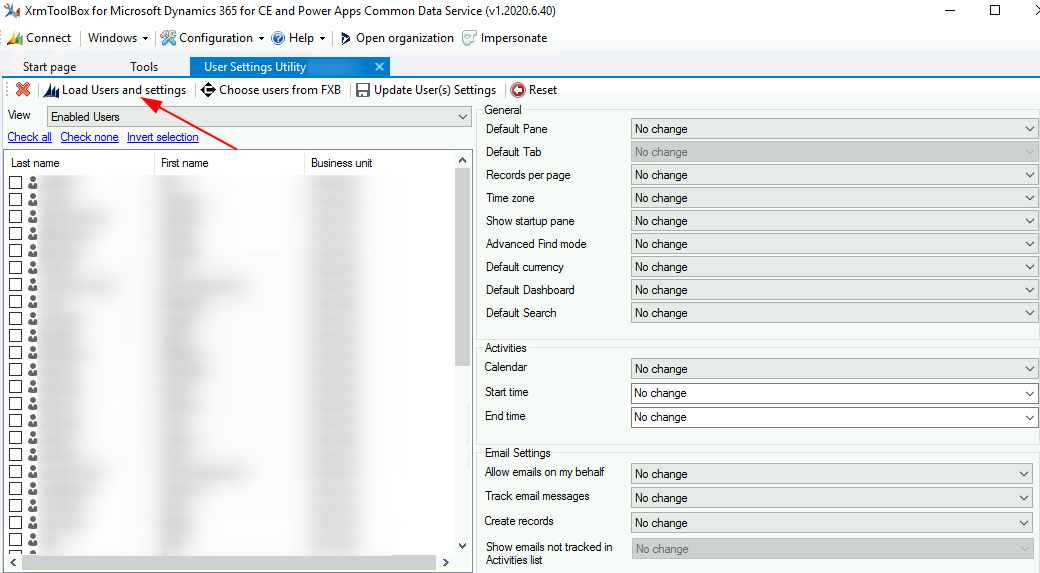
- The XrmToolBox for Microsoft Dynamics with User Settings Utility (Org Name) would open with a connection to a live CRM App after the previous steps > click on Load Users and Settings

- Put a check mark to one or many users whose settings need to be modified > on the right side, under General settings group, select a desired change (e.g. set Default Dashboard = Home) > click Update User(s) Settings > OK to acknowledge logged changes.
Categories: